Your cart is currently empty!
Bead Embroidery Frames
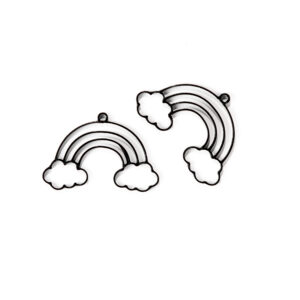
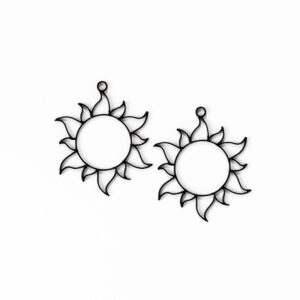
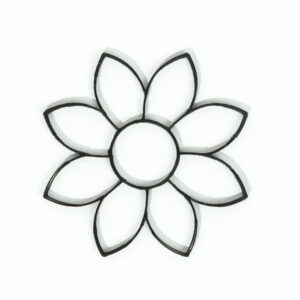
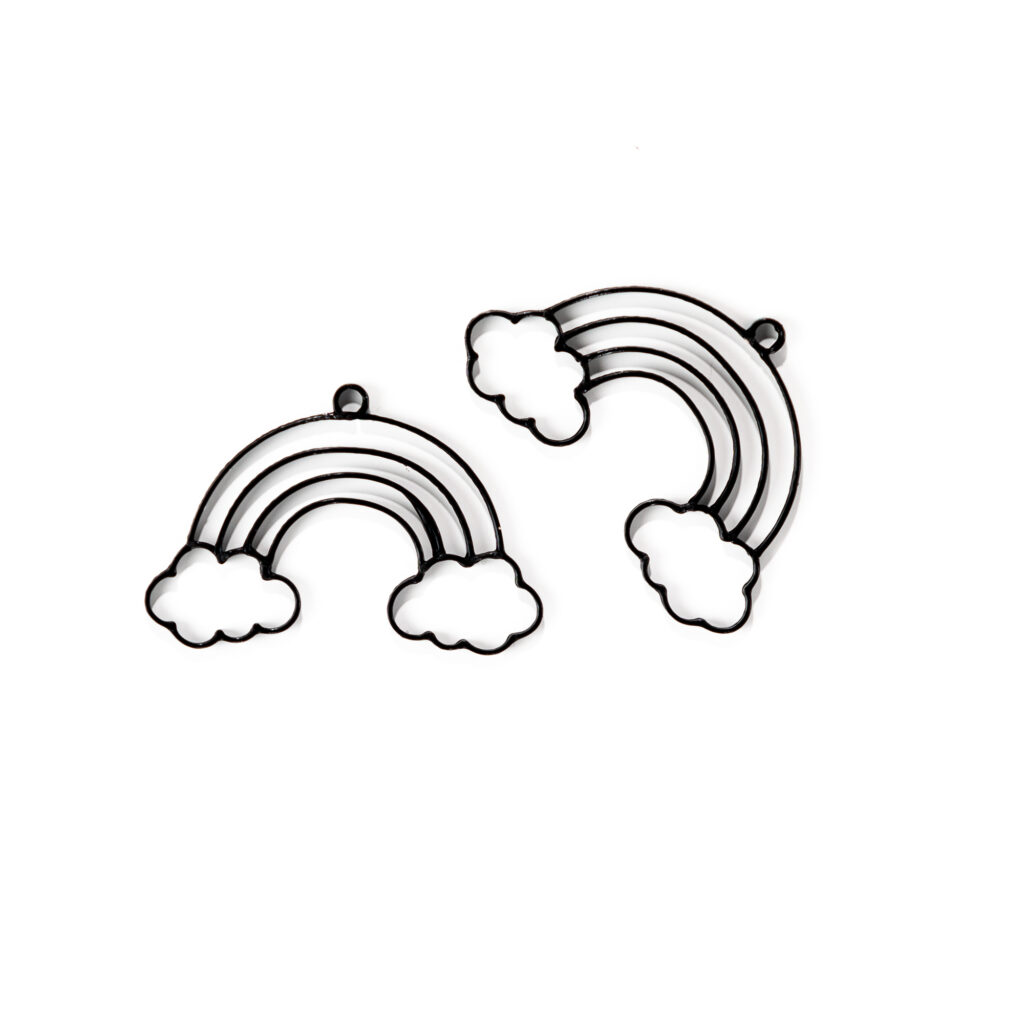
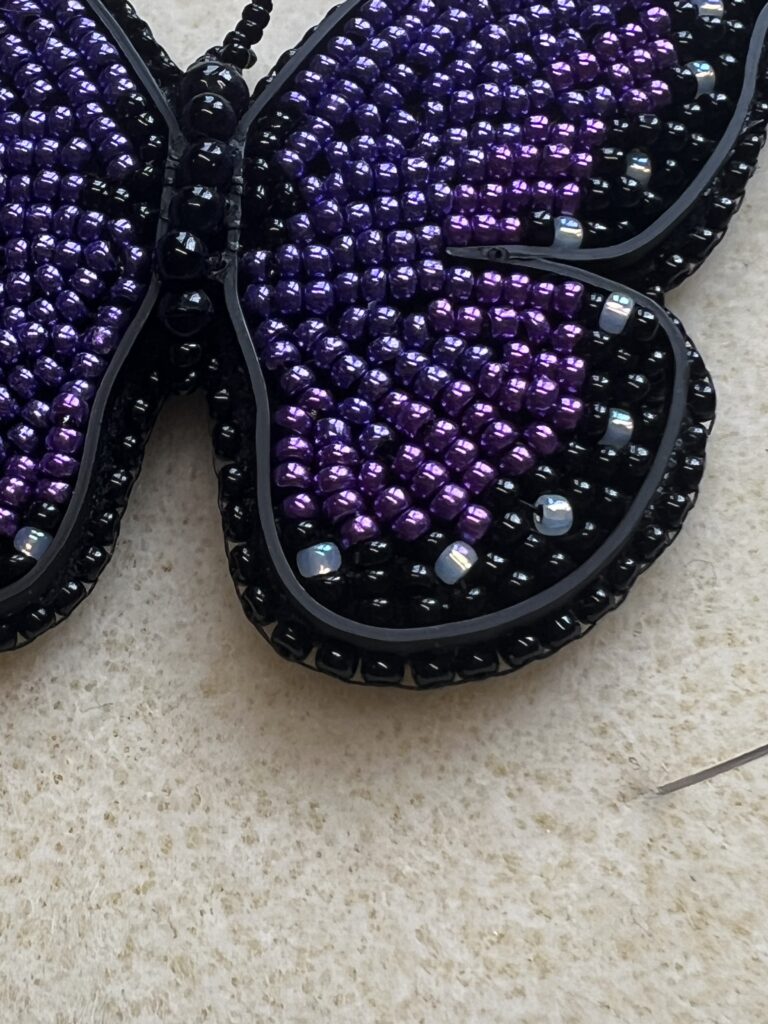
My 3d printed bead embroidery frames simplify project creation. They are available individually or as a kit with all needed beads.
These 3d printed embroidery frames make is a breeze to get that perfect edge on your design.
My 3d printed bead embroidery frames are available in white, black and grey, they can be painted with acrylic paints or permanent markers.
New designs are being added all the time, please check back. Custom designs are available, send me a message on my contact page and let’s talk about your design needs.

3d Beading Frames are easy to use, just follow the instructions below.
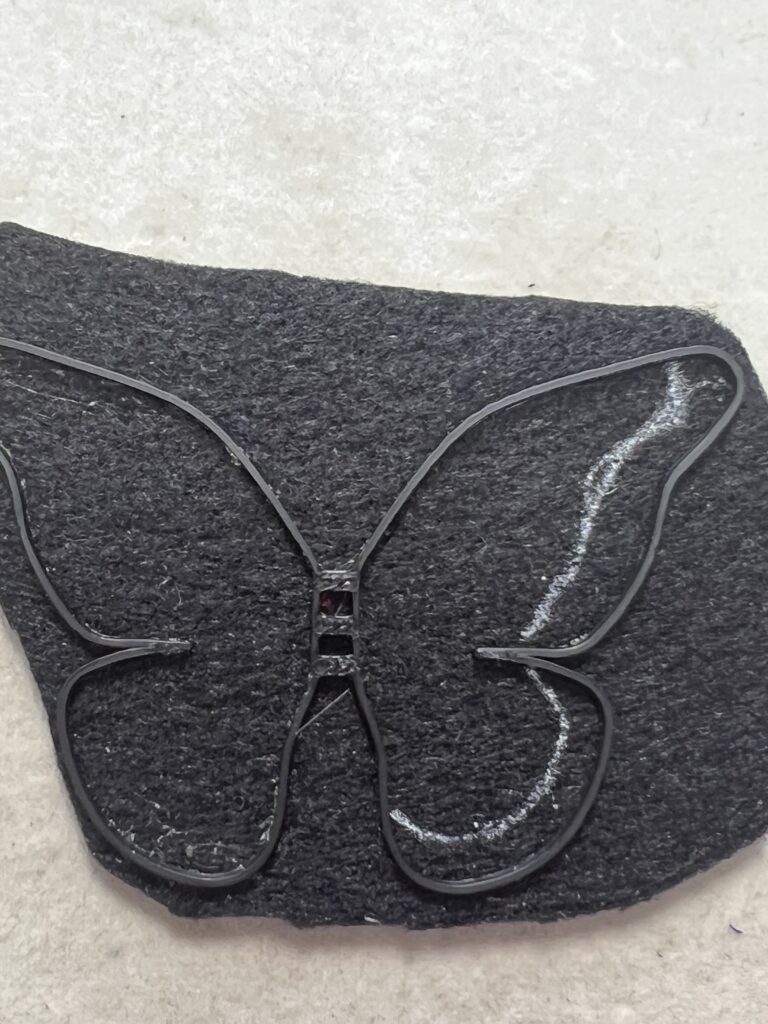
Step 1
Glue your frame to bead embroidery foundation. I use B700 with the fine tip to apply a small amount around the whole frame. Attach to the foundation and let it dry!
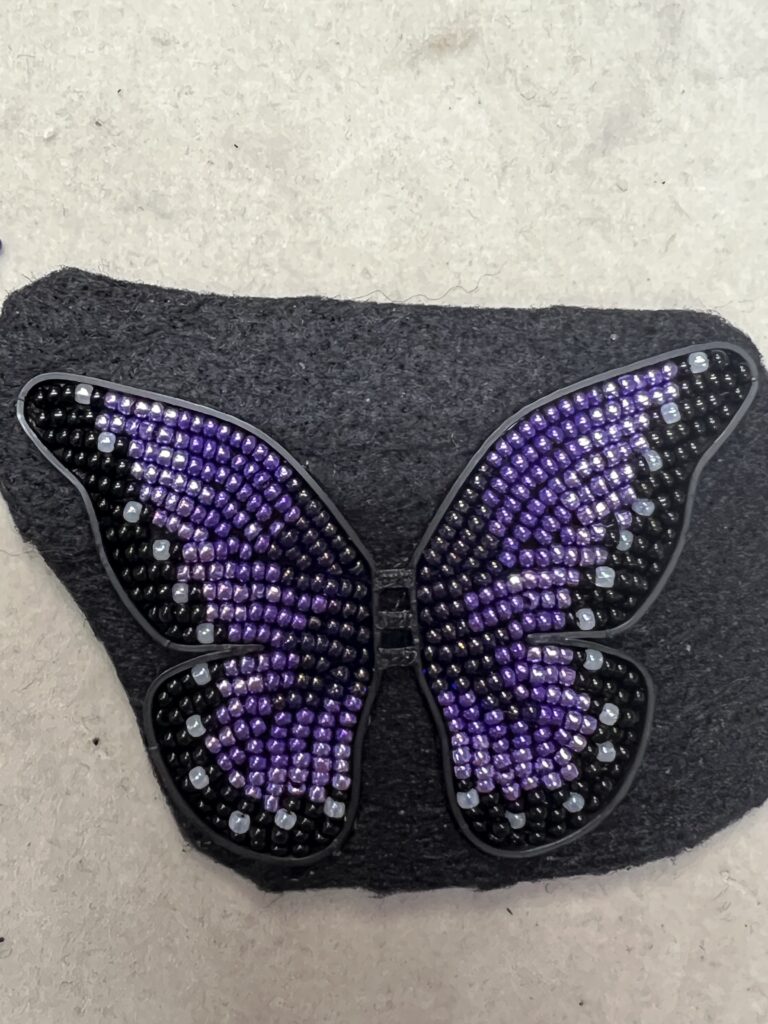
Step 2
Bead the inside area of the frame as much or as little as you like, being sure to keep your threads straight up and down, inside the frame on the back
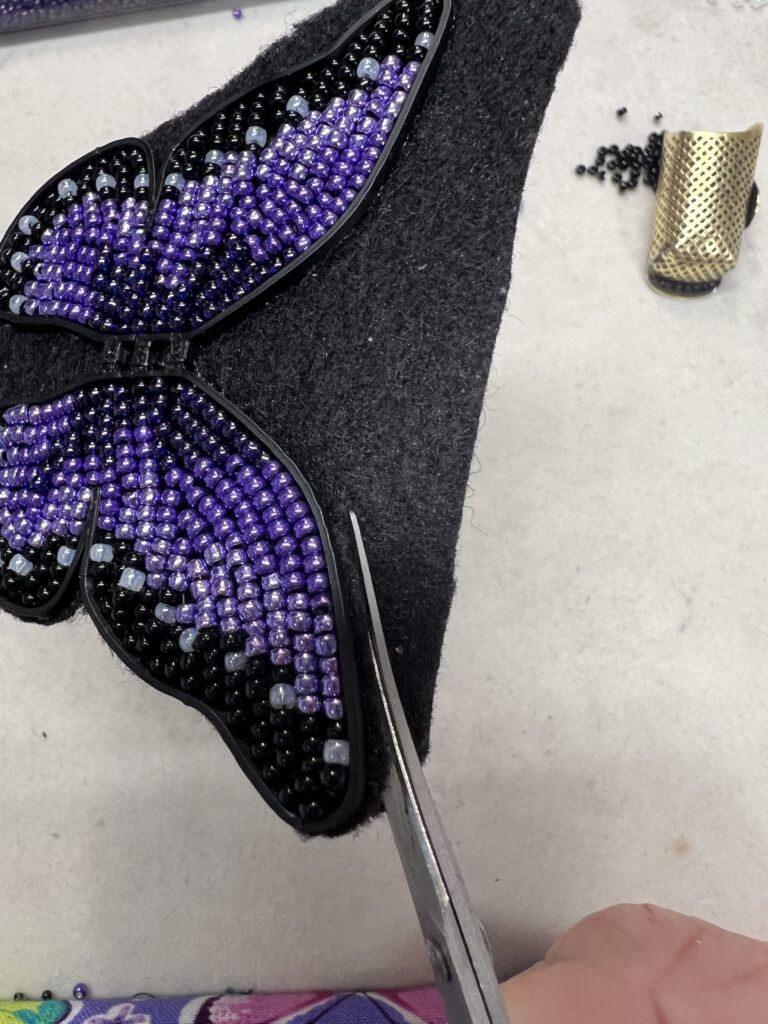
Step 3
Trim your threads and then trim the bead backing to about 1/16th of an inch. I do not measure this, I usually just leave about a bead’s width of backing showing around the frame, just enough to bring my thread up though to make a nice edging stitch.
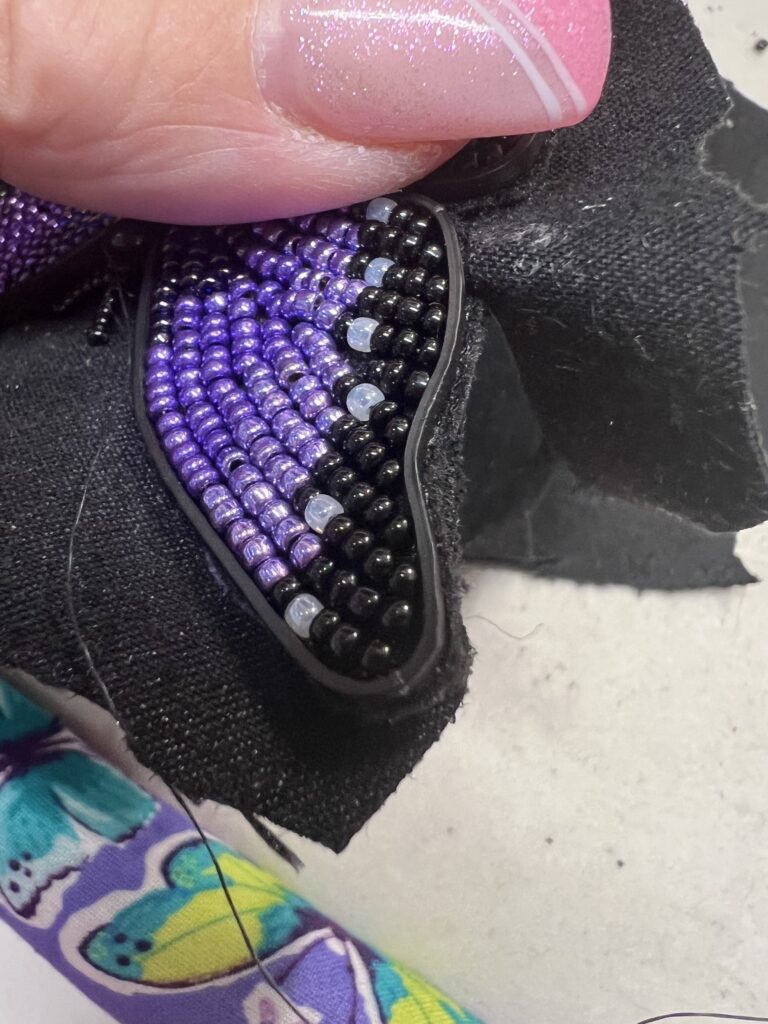
Step 4
Apply a leather or suede backing of your choice. I use school glue stick for this step. Apply the glue to the whole back of the embroidered piece including any threads or knots. Stick the piece to the back material and allow it to dry for a few minutes. The glue stick dries very quickly so you can trim almost right away. Trim the backing to the size of the front piece.
Step 5
I use a brick stitch edging all around the piece to sew the front to the back and finish the piece off with a nice edge
Order yours today!
Click the links below to browse the frames in the shop. Frames are available with or without loops for hanging.